Monday 29 December 2014

Libraries: A Year in Review


Annapolis Valley is only one of 9 Regional Library Systems in Nova Scotia and we have all had a busy year.  This post will touch on some of the highlights that have taken place in the different regions this past year.

Annapolis Valley Regional Library’s summer reading program was the recipient of a $4000 award from the Canadian University Federation of Women (CFUW).  We used the award to expand the program to include Science, Technology, Experience, Arts and Math (STREAM).  One of our most successful programs to date.

Western Valley Regional Library was very proud when their very own Verna DeViller,  the library’s automation trainer,  was presented with the 2014 Emile Theriault Library and  Information Technology Award from the Nova Scotia Library Association. She has been with the library for over 36 years. She has exemplified hard work, determination, and “an excellent attitude,” says Western Counties Regional Library Director Erin Comeau.


South Shore Regional Library is still basking in the glow of the opening of the Margaret Hennigar Public Library.   This 8000 square foot state-of-the-art branch is open 7 days and 3 evenings a week and is a key component of the Lunenburg County Lifestyle Center.   

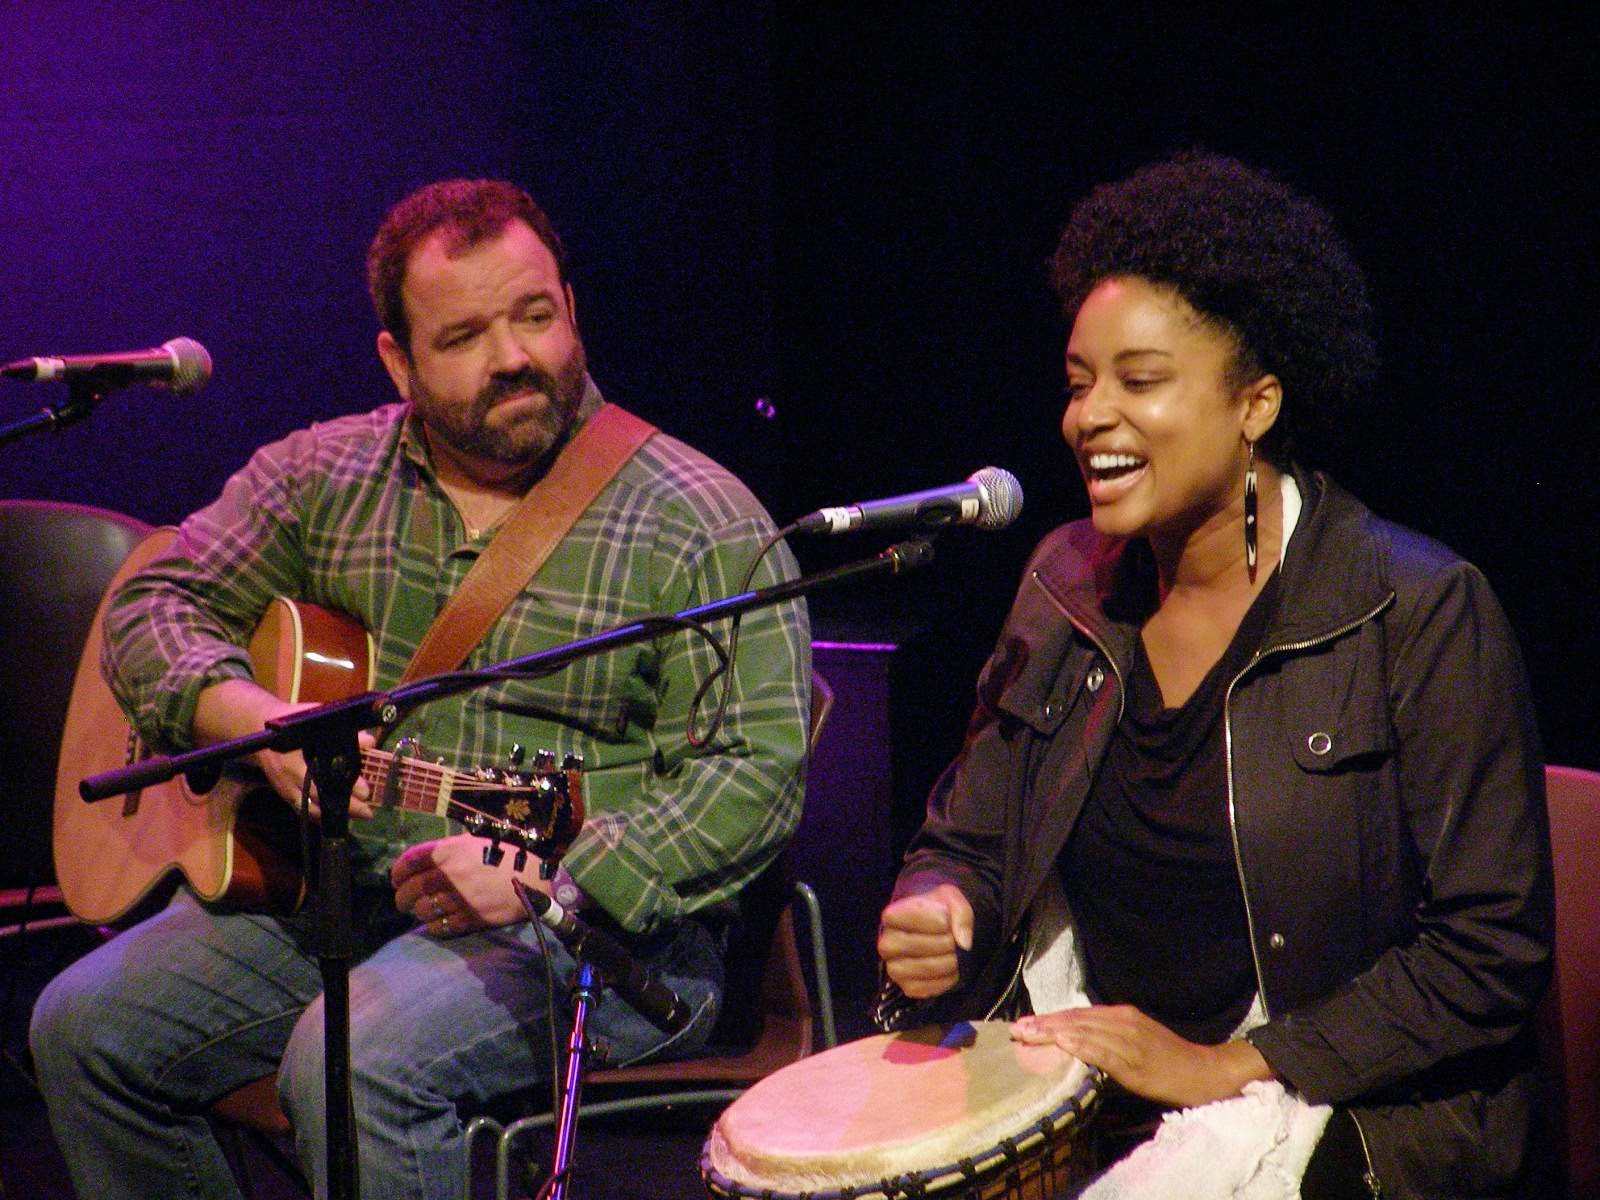
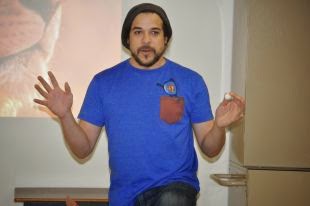
Colchester East Hants Regional Library scored a success with Film Night with Cory Bowles.  There was a screening of his new film and discussion on making a film in Tatamagouche.  Cory also talked about the racial issues he has encountered in his career as an actor, dancer and film maker.  Over 80 people attended this event.

Cumberland Regional Library was all about origami this past summer.  Their goal of folding 1000 paper Yodas was surpassed to the tune of a total of 3,529 Yodas.  Tom Angleberger,  the author of the Origami Yoda series for kids, followed the project closely and donated a piece of the original artwork from the series as a reward.   

Cape Breton Regional Library hosted Singing Storytellers – Workshops, Lectures and Demonstration. In partnership with University of Cape Breton and Celtic Colours this event drew participants from all over the world.  This combination of stories and music was open to the public and was a resounding success.

 
Pictou Antigonish Regional Library was the recipient of a National Award presented by the Canadian Institute of Planners.  The Antigonish Town & County library now has the title of Canada’s Great Public Space.   Deemed more than just a
library it was recognized for its exceptional design that celebrates the work of local artists and craftspeople and that incorporates numerous green features.

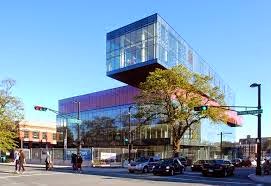
Halifax Regional Library finally opened the doors on the new Central Library. Boasting features like a rooftop terrace, cafe and lounge, and a collection that nearly doubled in size, the expectation is that 900,000 people will visit the library in the coming year.

Eastern Counties Regional Library unveiled Paul’s Garden in memory of Paul Chiasson, an avid gardener and educator.  Through donations in his memory and lots of voluntary community support the garden became a reality.  This is the beginning of the Living Library project undertaken by the region in the hopes of developing community gardens at all their branch locations. 

So there you have it.  Exciting and rewarding things are happening all the time all over this province’s libraries.  We are confident that it will be as busy and interesting in the coming year.  Let’s celebrate what we have and what is to come.   Happy New Year,  Libraries!


Monday 22 December 2014

Crafting the winter away


I love crafts! I can spend hours making tiny creatures or objects from felt. I could probably cover my house in glitter and be very happy (though my husband might move out). Glue, paint, crayons, scrap paper, old books, bits of fabric, ribbons, empty jars, tissue paper.... I have boxes of this stuff. Lucky for me, as a children’s librarian, I get to use these bits and pieces  in my job! I have made many crafts from paper tubes. Popsicle sticks? Have you ever built a house with those?  Paper plates? If you have a red crayon, some yellow paper, a black marker, and some green squares, you can create a pretend pizza. 

Many of you have children at home until January. Crafts are a fun way to while away the hours.  I love Pinterest for craft ideas—you could spend hours looking for things to make. Or you can go directly to my Pinterest CRAFTS board.   

Of course you can get plenty of craft books at the library. Have a billion little rubber bands at your house? We’ve got several books with new ideas for using them, such as Epic rubber band crafts : totally cool gadget gear, never before seen bracelets,awesome action figures, and more!  

I’m a big believer in reusing. I hate to throw out something that I can make into something else. We’ve got books, such  as  Trash to treasure : a kid's upcycling guide to crafts : fun, easy projects with paper, plastic, glass & ceramics, fabric, metal, and odds & ends which will give you some ideas for using those things that might have gone into the rubbish bin.  One look at 1000 ideas for creative reuse : remake, restyle, recycle, renew will make you think twice before you throw away a bottle cap. 

If you are a more advanced crafter, and know your way around a sewing needle, try some projects from the many felt books we have.  Try Felt with Love for some sweet little items, or if zombies are more your style, check out Zombie felties : how to raise 16 gruesome felt creatures from the undead. This book even has a paper coffin that you can photocopy for your little zombies to live in, like this one I made several years ago. 

I couldn't possibly write about crafts without mentioning this gem, which will have you pawing through used bookstores and our next book sale with renewed ferver: BiblioCraft : a modern crafter's guide to using library resources to jumpstart creative projects.

So if you hear the words, “I’m bored” this winter, head to your local library and go straight to the 745 section. You’ll find plenty to keep you busy, and you just might discover a new hobby! 

--Angela Reynolds, Head of Youth Services

Tuesday 16 December 2014

Day 12, 2014: Bear on the Mountain Cookies


My name is Hannah. I am part of the Bridgetown Regional High School Options and Opportunities program.  For this program I am doing a 100 hour placement at the Annapolis Royal Library Branch and really enjoying it. I have made Bear on the Mountain cookies from the Cookies for Christmas cookbook.  I choose these cookies because they are fun and give you a bubbly feeling whenever you see them. They are fun to do with kids so I can use them for a cooking program I am hoping to do through my 4-H club.
 Bear-on-the-mountain cookies

(makes 54)
Ingredients
½ cup butter
1 cup sugar
¼ teaspoon baking powder
¼ teaspoon baking soda
¼ teaspoon salt
1 egg
1 ½ teaspoon vanilla
½ cup unsweetened coca powder
1 ½ cup all-purpose flour
54 milk cholate kisses
½ cup canned vanilla frosting
54+ chewy fruit bear snacks


1.     In a large mixing bowl beat butter with an electric mixer on medium to high speed for 30 seconds. Add sugar, baking powder, baking soda, and salt. Beat until combined, scraping the sides of the bowl occasionally. Beat in egg and vanilla until combined. Beat or stir in cocoa powder and flour.
2.     Shape the dough into 1-inch balls. Place the balls of dough 2 inches apart on an ungreased cookie sheet.
3.     Bake in a 350 degree F oven about 9 minutes or until edges are firm. Immediately press a chocolate kiss into center of each cookie. Transfer cookies to a wire rack; cool.
4.     When cookies are cool, spoon frosting into a heavy self-sealing plastic bag. Using scissors, snip the tip off one corner of the bag. Pipe a small amount of frosting onto the top of each kiss. Stand a bear atop each cookie. Makes about 54 cookies.
Hannah’s notes: I found using a fork instead of a wooden spoon was a lot easier. If you are still having trouble, try mixing by hand.
While I was making these the song Waltzing with Bears kept running through my head. I couldn’t resist making this cookie!

Monday 15 December 2014

Day 11, 2014: Painted Cookies


Painted Cookies from the book Christmas Cooking  by Rebecca Gilpin. 

Made in the Soloy Family Test Kitchen by Griffin (age 5) and Holly (age 3) with limited adult supervision.

We chose this recipe mainly for the fun factor. The kids help out in the kitchen quite a bit. They also fit in a lot of painting, colouring, and/or crafting in any given day. But PAINTING COOKIES? That you EAT? “Dad! That’s silly!” said my daughter. 

I knew that we had found our cookie.

To make about 15 cookies you will need:
½ cup powdered sugar
½ cup soft margarine (we used butter)
the yolk from a large egg
vanilla extract
1 ¼ cups flour
plastic foodwrap
big cookies cutters
greased cookie sheet
To decorate the cookies:
an egg yolk
food dyes

Preheat oven to 350 F

1. Sift the powdered sugar through a sieve into a large bowl. Add the margarine. Mix well until they are smooth.
2. Add the large egg yolk and stir it in well. Then, add a few drops of vanilla extract. Stir the vanilla into the mixture.
3. Hold a sieve over the bowl and pour the flour into it. Sift the flour through the sieve, to remove any lumps.
4. Mix in the flour until you get a smooth dough. Wrap the dough in plastic foodwrap and put it in the freezer.
5. Put the egg yolk into a bowl and beat it with a fork. Put it into saucers. Mix a few drops of food dye into each one.
6. Take the dough out of the freezer. Roll out half of it onto a floury work surface, until it is as thin as your little finger.
7. Press out shapes with cutters. Use a spatula to lift them onto a cookie sheet. Roll out the rest of the dough.
8. Cut out more shapes. Use a clean paintbrush to paint shapes on the cookies with the egg and dye mixture.
9. Bake the cookies for 10-12 minutes. Remove them from the oven. Let them cool a little, then lift them onto a wire rack.

*Baking supervisor’s notes: (Our baking supervisor is Jai, who works in Outreach Services)

I premeasured all of the ingredients and let the kids combine it all. For an extra thrill, I let my three year old add the few drops of vanilla. We got quite a bit less than a quarter of the bottle, so that was good. I had both a sieve and a sifter on the counter, but the team was in a hurry to get to the painting part so it all went in unsifted. After a solid “everybody gets a turn” of mixing, I found the dough to be fairly lump-free. We also skipped the whole freezer part. Our kitchen is pretty cold this time of year. If we make “Summer Painted Cookies”, I might add this step back in. I also opted for new paint brushes over the suggested “clean paint brushes”. Everything else, we followed word for word.

At our house, if a cookie gets decorated, it usually gets some kind of candy glued to it with icing. That’s if the candy survives waiting for the cookies to cool. The beauty of painting the cookies with coloured egg yolk  is that you paint them and they’re straight in the oven.  There are less sticky faced, jittery junior bakers over-sampling future gingerbread man buttons and more kids washing dishes while the cookies are baking. Right?